Objective
The following steps can be used to quickly spin up WebGoat (a purposefully vulnerable web app) with a Java agent attached. This can be especially useful to quickly test a new agent or demonstrate how Contrast works.
Process
- Download WebGoat. You can find version 8.1 on GitHub here.
Notes:- You can use wget on linux or your web browser to download.
- This version requires Java 11 (current LTS version of Java at time of writing)
- Login to the Contrast UI
- Click Add Agent:

- Select Java and download the contrast_security.yaml configuration file and the Java Agent jar file:
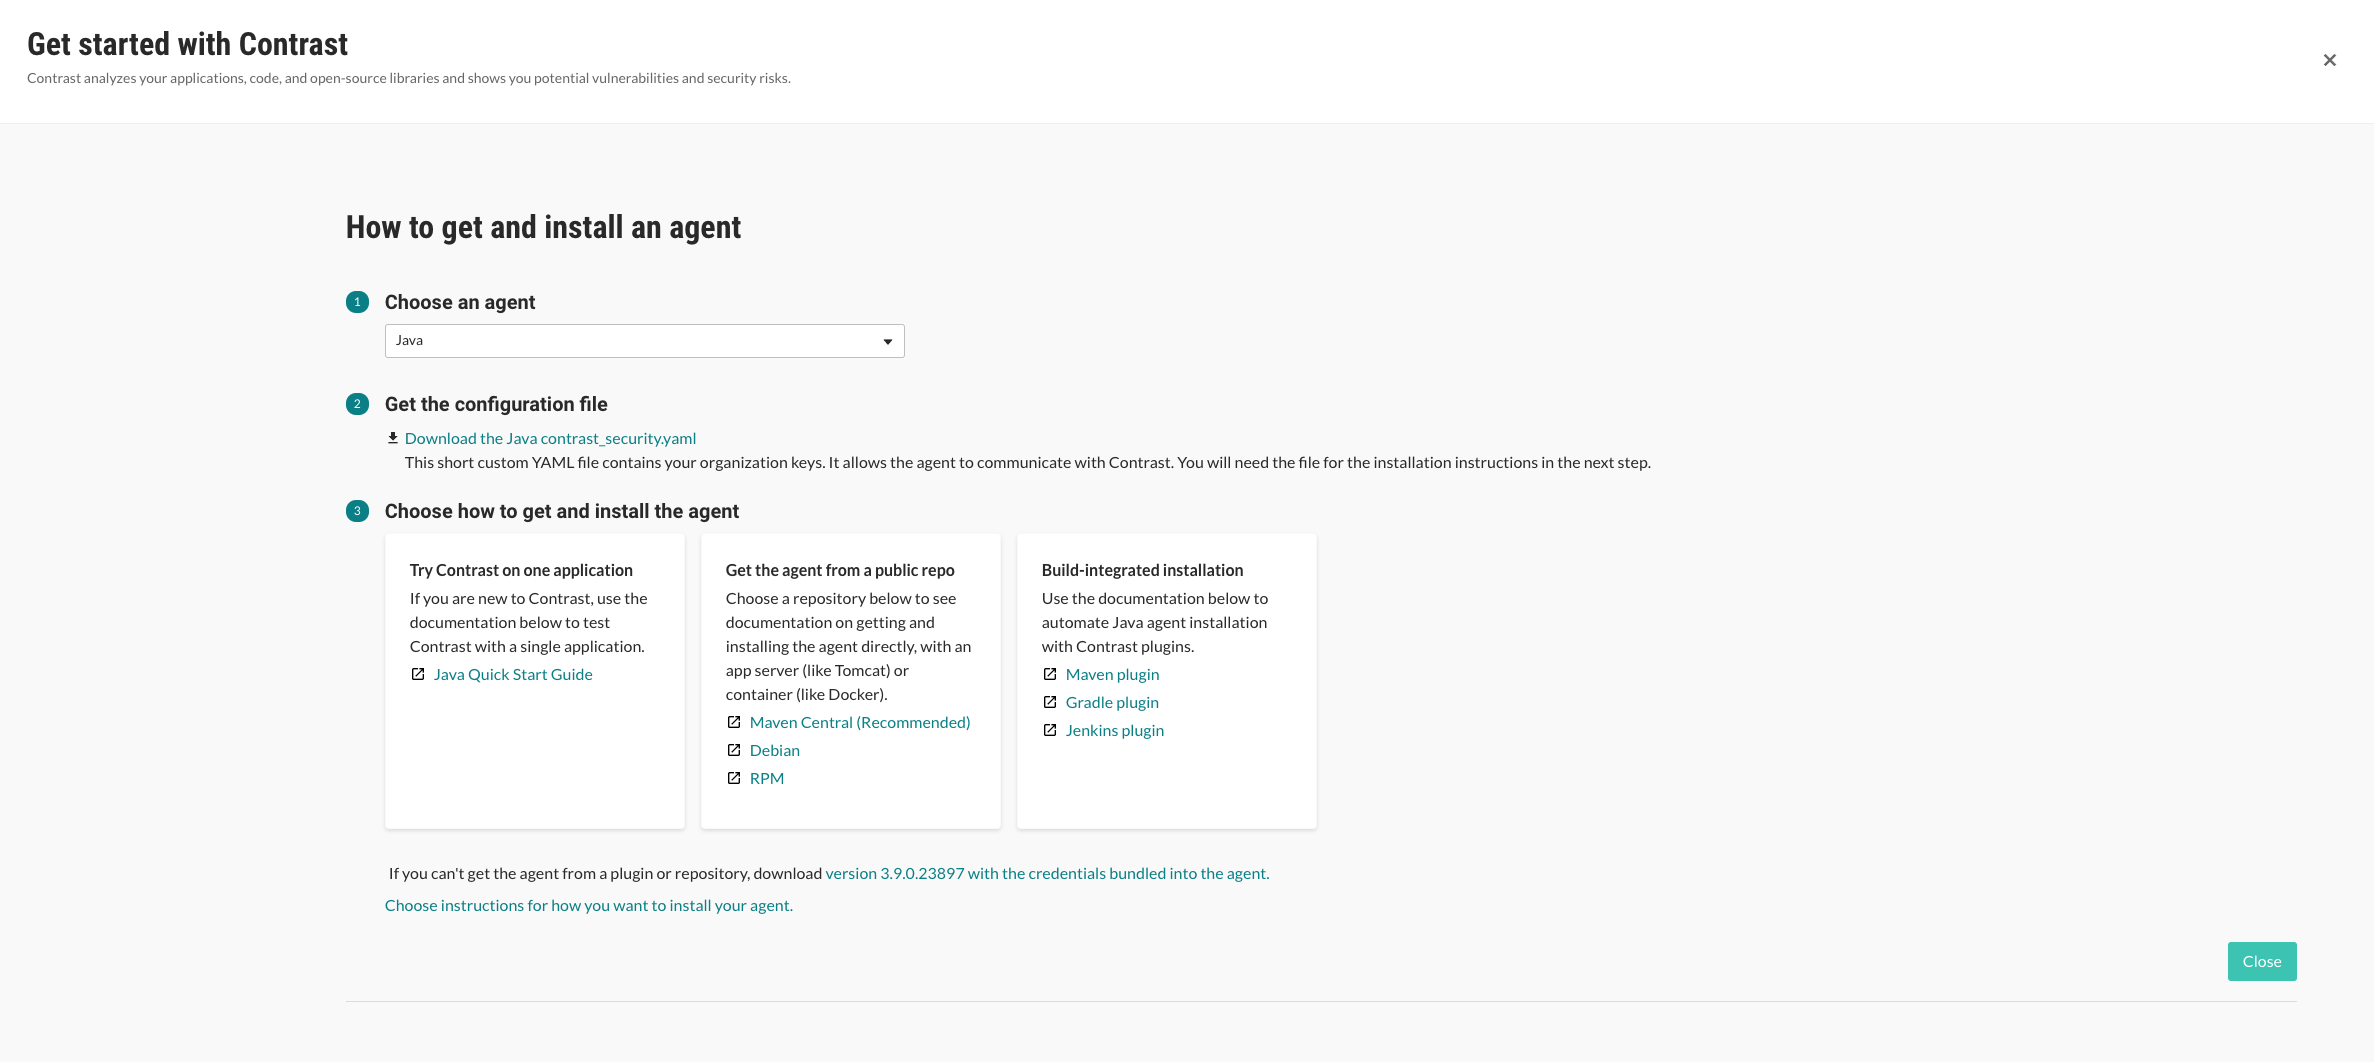
- Customize the configuration, if desired - for example you can change the reported application and server name by adding the following to the contrast_security.yaml file (more options detailed here):
agent:
  java:
    standalone_app_name: WebGoatDemo
application:
  path: "/WebGoat"
server:
  name: "My Server"
- To start up WebGoat with the Contrast agent, simply execute this command:
java -javaagent:/path/to/contrast.jar -Dcontrast.config.path=/path/to/contrast_security.yaml -jar /path/to/webgoat-server-8.1.0.jar --server.port=8082
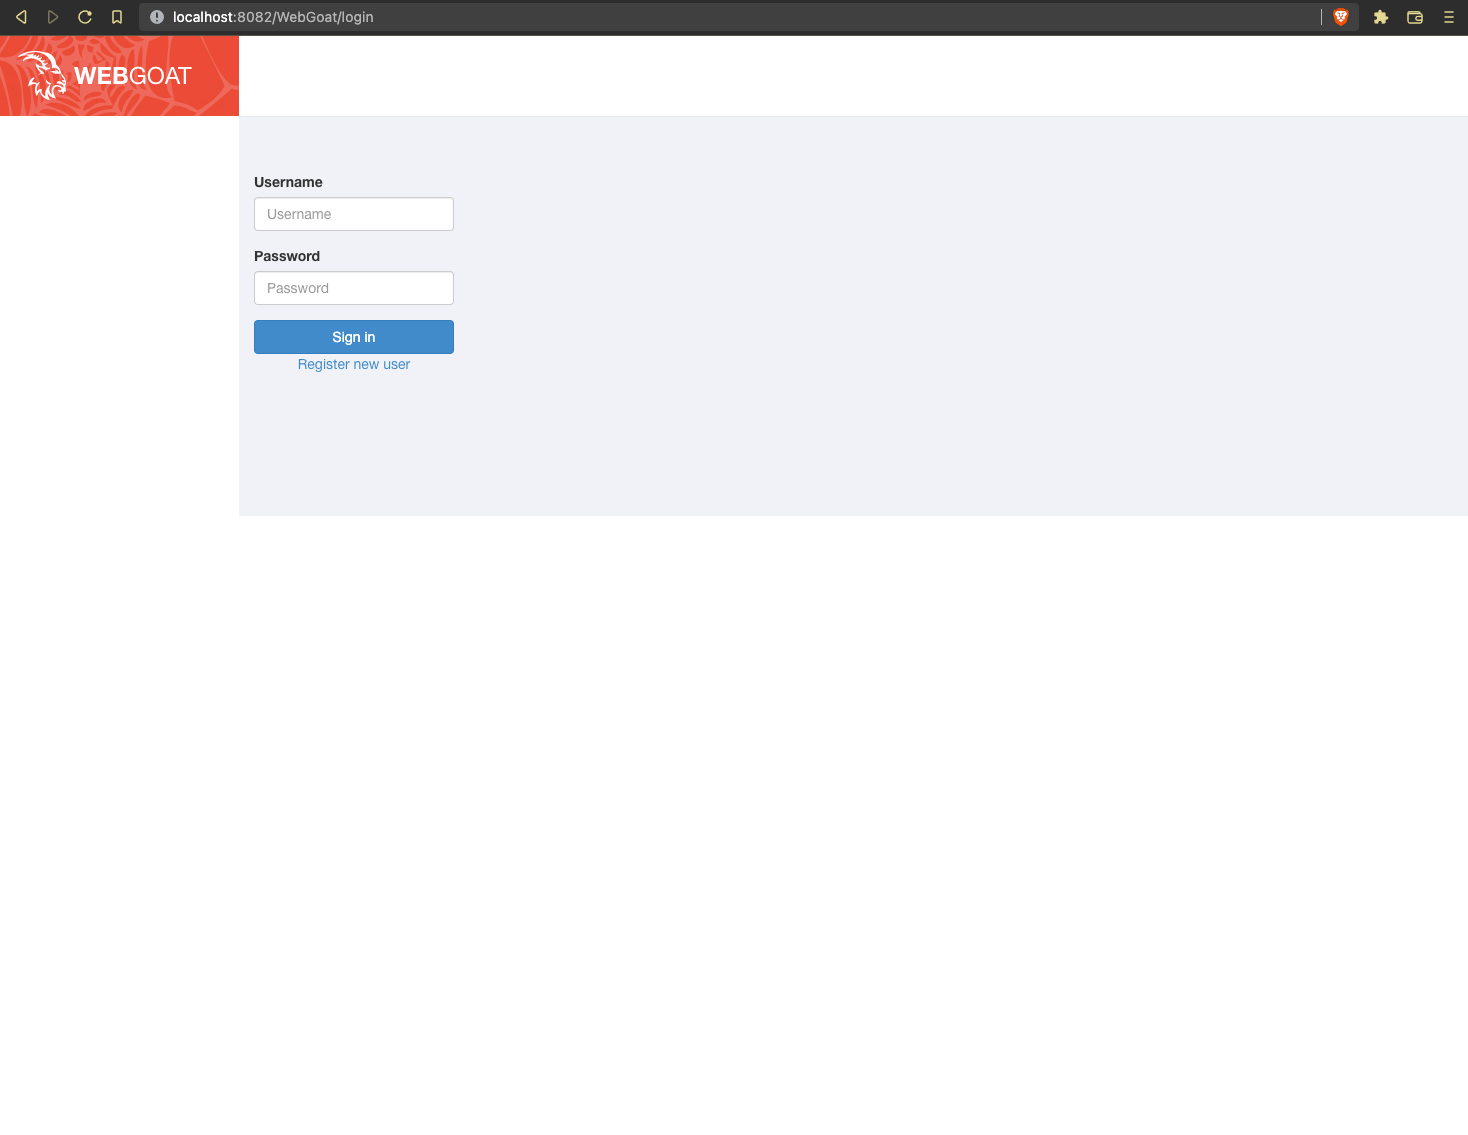
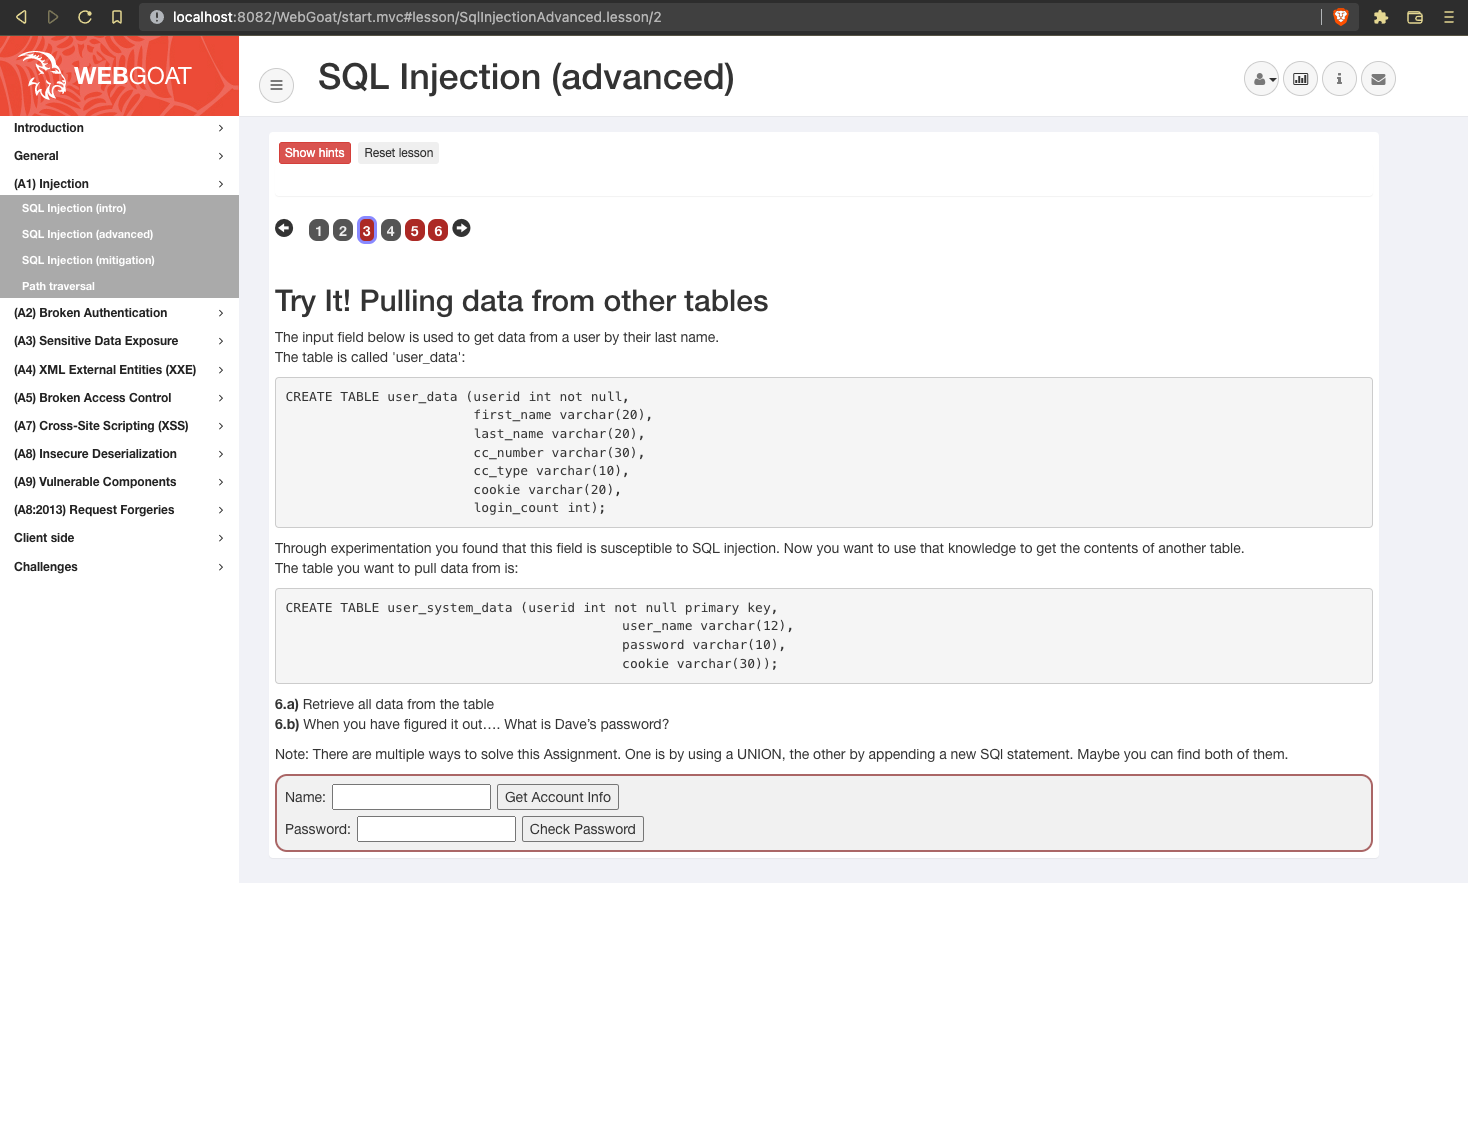
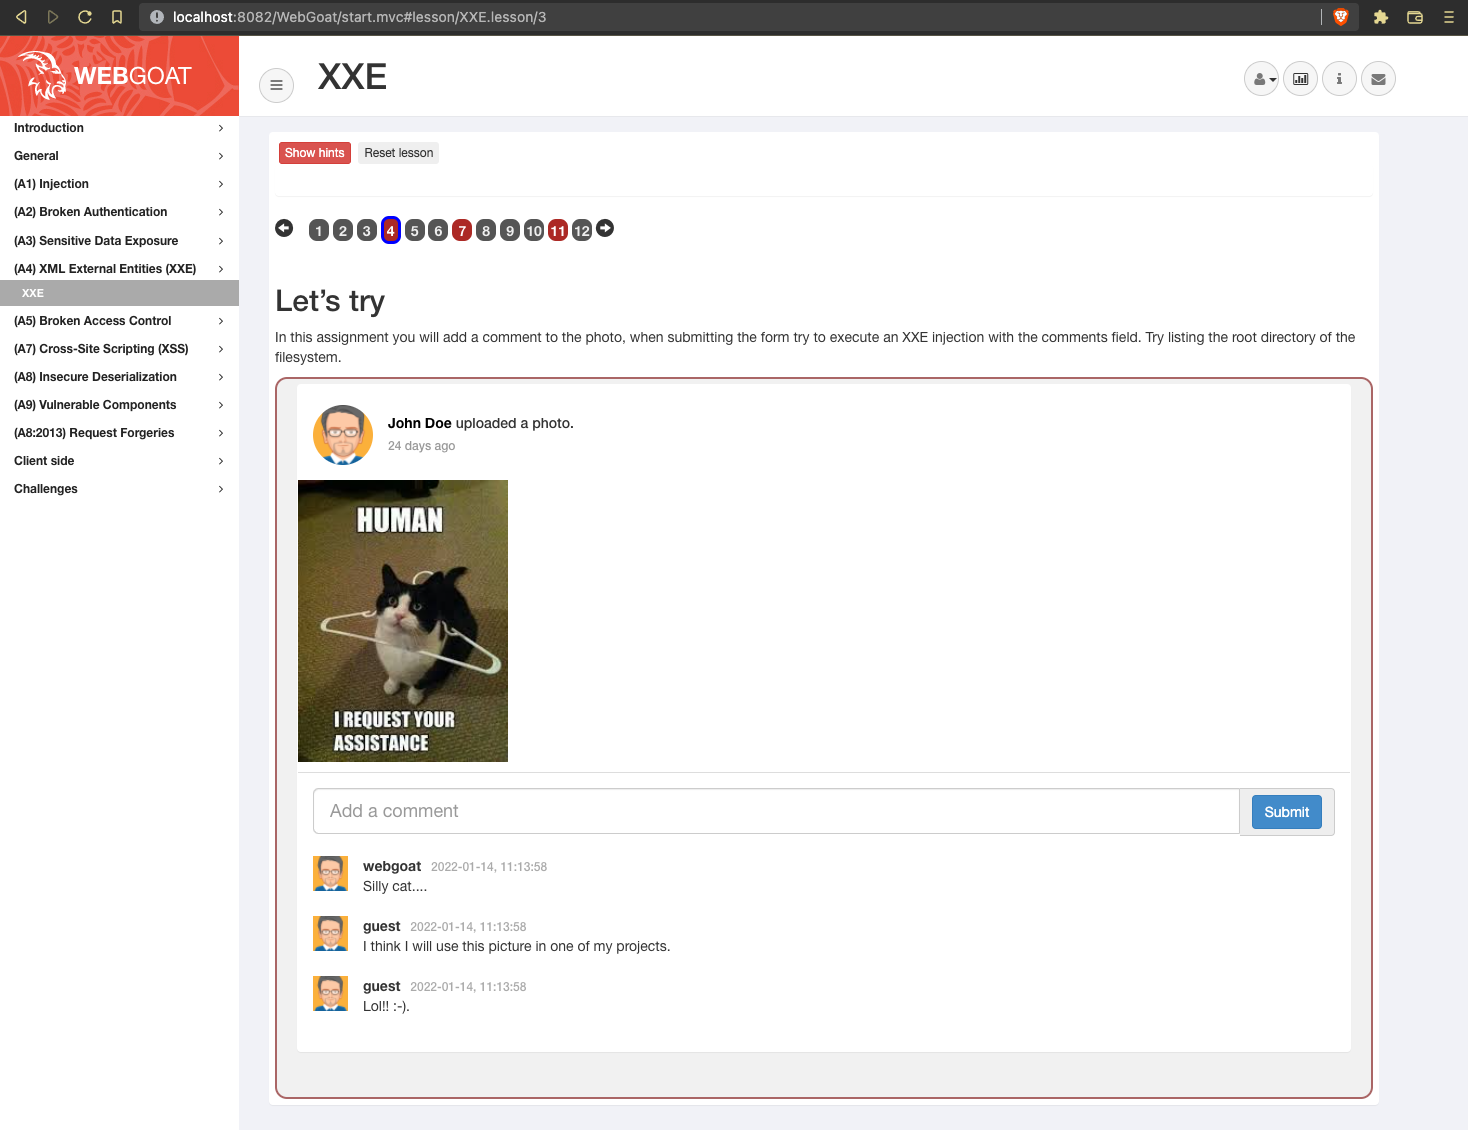
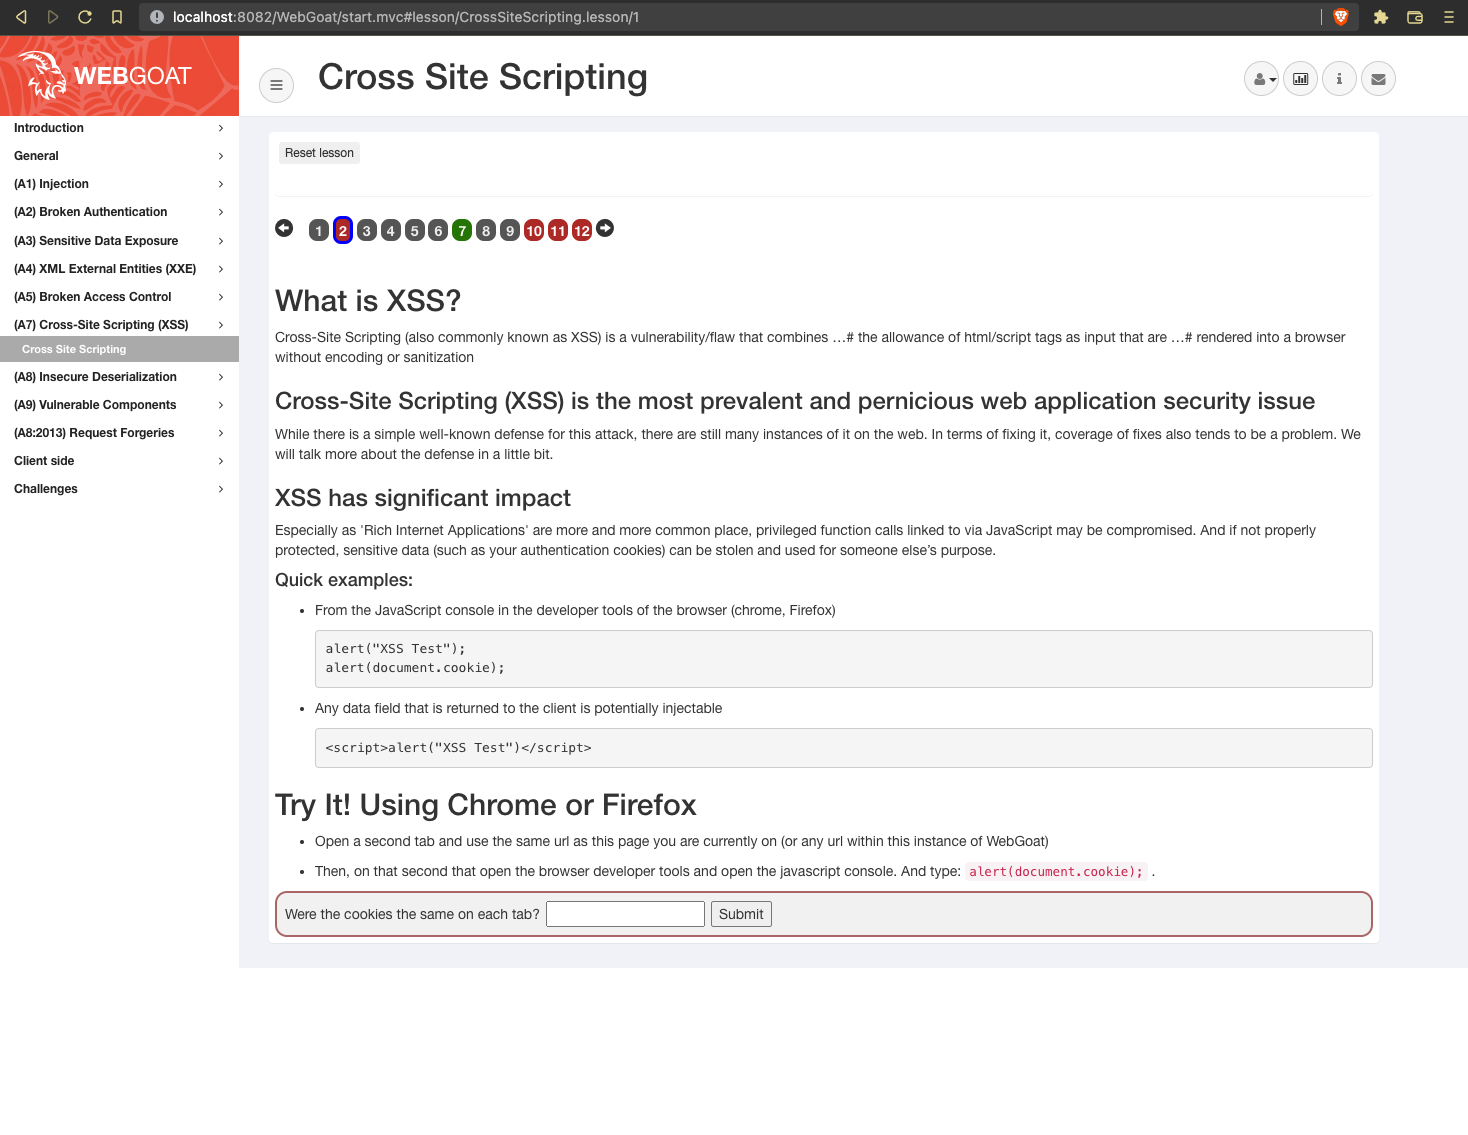
Note: --server.port will optionally override the default Webgoat port of 8080 - Point your browser to http://localhost:8082/WebGoat, register a user, log in and complete some of the lessons in the the left navigation bar:
- Login to the Contrast UI
- Under Applications you should now see an entry called WebGoatDemo. Open this entry and select Vulnerabilities. You should see the vulnerabilities triggered by your actions within WebGoat:
